
Assets
Creating an Asset
Assets in AMSDeck, the asset management software, are the core of the entire system.
The platform is designed to track, manage, and optimize assets throughout their entire lifecycle. From the moment an asset is created, it goes through various stages such as transfers, maintenance, and usage tracking, among other things, until it eventually reaches its disposal or archival phase.
Every action within AMSDeck whether it's issuing an asset to a person, scheduling maintenance, uploading documents to an asset, or retrieving history, is centered around ensuring assets are properly managed, accounted for, and utilized efficiently.
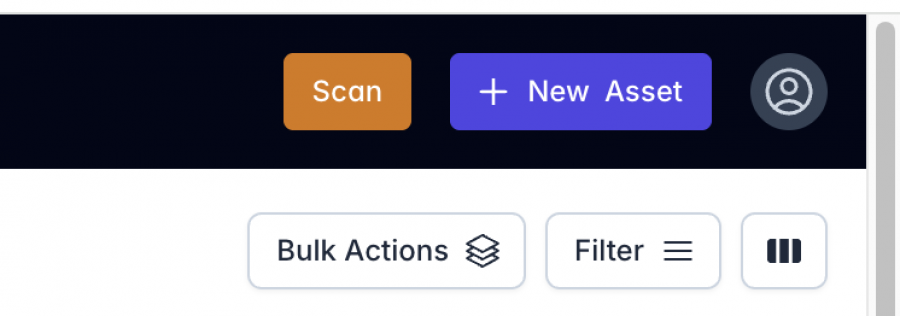
To create an asset, click the [ + New Asset ] button in the top-right corner of the dashboard.
This will take you to a page with a form for creating a new asset.
The Asset Form

The only required field is Custom ID, which is automatically generated and must be unique.
The Custom ID field can be edited, and each new one is generated based on the previous one by incrementing it by one.
The rest of the fields are not required and can be filled or emptied out at any time.
Category
The Category dropdown is a relational field that displays all categories within the organization. It helps classify assets for easier filtering.
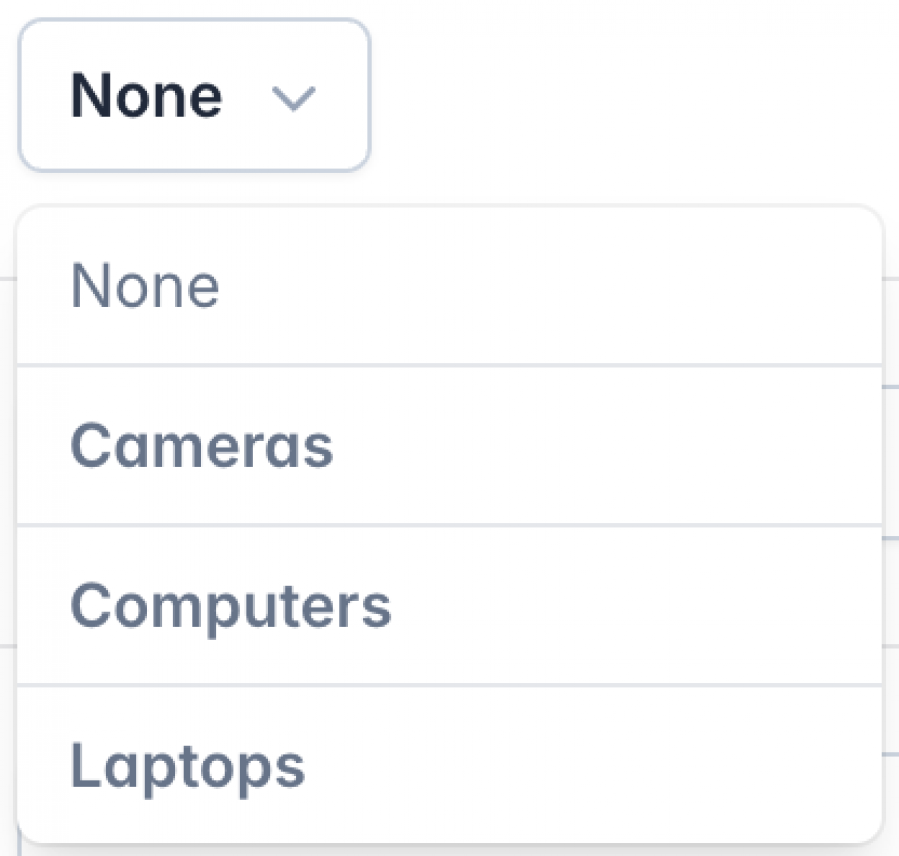
Categories can be created and edited under the Settings > Categories page.
Original Fields
Fields on the Asset form can be further customized, renamed, and hidden via Settings > Original Fields.
Custom Fields
Furthermore, custom fields can be added to the Asset form via Settings > Custom Fields.
Saving the Asset
Upon saving, the asset is created immediately, and a QR code is generated. The QR code can be printed by clicking on the Print QR Code option on the menu in the Asset Details page or via the Bulk Actions dropdown in the Dashboard.
Next: Learn about key Asset Statuses
