
Assets
Print QR Code Label
The QR Code Label Printing page can be accessed in two ways:
- From the Asset Details page — Navigate to an individual asset and select the Print QR Code Label option.
- From the Dashboard — Select multiple assets, click Bulk Actions (top-right corner), and choose Print QR Code Labels to generate labels for multiple assets at once.
QR codes play a crucial role in scanning, tracking, and managing assets efficiently. By scanning each asset's QR code, you can quickly retrieve its details, update its status, and streamline asset management without manual data entry.
The benefits of scanning an asset are:
- Instant Access – Scan a QR code to pull up an asset’s full history, status, location, and assigned personnel in seconds.
- Quick Updates – Easily transfer, return, or update an asset by scanning its QR code.
Printing a QR code in AMSDeck, the asset management software, provides several options to customize the format and layout, ensuring the printed version is properly adjusted for your printing device and label format.
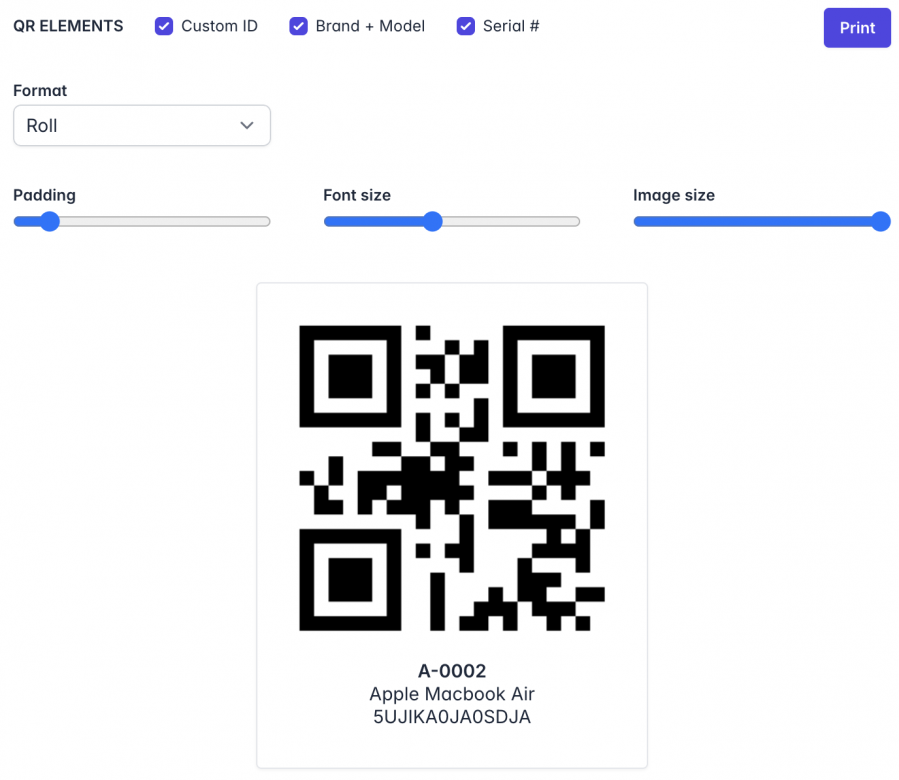
QR Elements
Under the QR Elements section, you can easily toggle the following options to customize what appears on the QR label:
- Custom ID
- Brand + Model
- Serial #

Enabling or disabling these options instantly updates the QR label, allowing you to control which details are displayed based on your preferences.
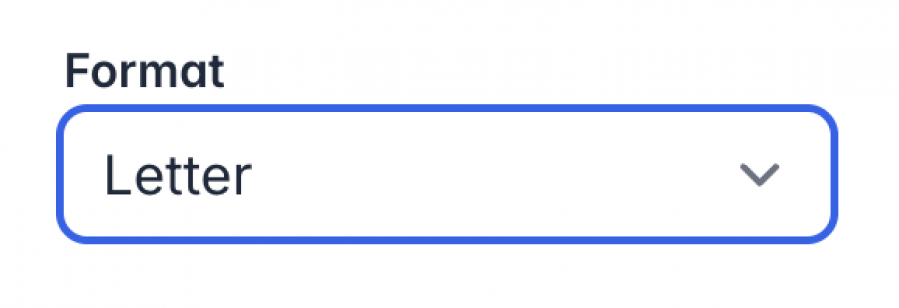
Format
The Label Format provides two options for printing QR code labels:
- Roll – Designed for small printers that print on a continuous roll.
- Letter – A standard sheet format, which can be adjusted to A4 in the print dialog modal.
Quick tip: In the print dialog modal in your browser, you can further customize margins to ensure the labels align perfectly with your template.
More options
Depending on the selected Format, additional customization options are available:
- Padding – Adjusts the space within a single label. Increasing padding may reduce the image size to fit within the label.
- Font Size – Controls the text size for Custom ID, Brand + Model, and Serial Number on the label.
- Image Size – Sets the QR code image size as a percentage. Again, this may be influenced by padding, which takes priority when space is limited.

These options allow for precise adjustments to ensure labels are formatted correctly for optimal readability and printing accuracy.
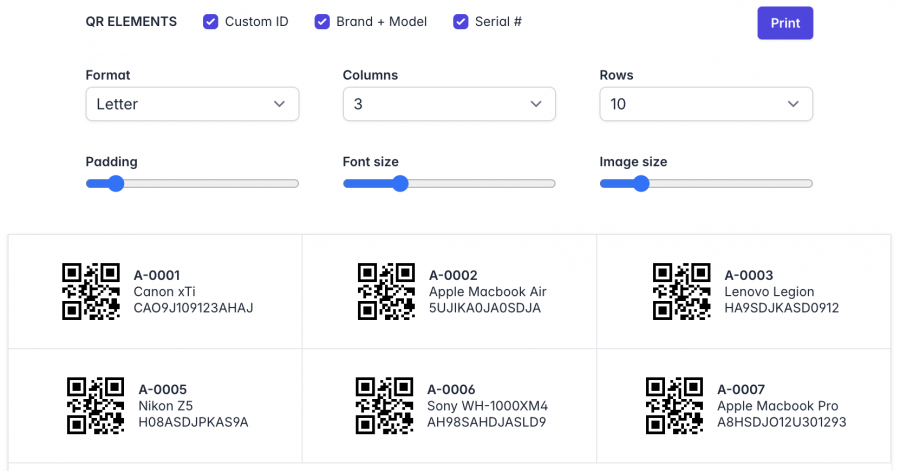
Other options
When selecting the Letter format, two additional dropdown options appear:
- Columns – Defines the number of labels per row.
- Rows – Determines how many labels fit vertically on the page.

These options allow you to customize the layout to match your label format, ensuring proper alignment and spacing for printing.
Key Features —
- Customize layout, padding, font size, and image size to fit your needs.
- Choose between Roll and Letter formats, with separate settings saved for each.
- Auto-save functionality ensures that all changes are preserved, so your preferred settings are ready the next time you print.
These options provide precision and convenience, making it easy to print QR code labels exactly how you need them.
Next: Learn how to Transfer an Asset
